

Brew Guide - Bean Bros
How to Brew Coffee with AeroPress

Aeropress Brewing
AeroPress is one of the most favourable brewing equipment among not only professional baristas, but also coffee enthusiasts from all over the world.
And for obvious reasons. Not only is this brewer super compact and easy to use both at home and while travelling, but also it makes a perfectly balanced and delicious cup of coffee within less than two minutes.
The company was founded in 1984 by engineer Allan Adler as a sports goods company. But once Alan started to study brewing methods and found his love for coffee, AeroPress was born in 2005 and the company shifted to keep inventing the best of brewing equipment.
AeroPress brewing method is beloved among so many people because it’s easy and approachable for even beginners. Moreover, AeroPress brewing time take only up to two minutes, as well as it is easy to sustain, clean, and compact for your travels.
This makes AeroPress the best brewing technique on the go, whenever you're travelling and still don't want to give up your favourite coffee.
Aeropress Brewing
As with any other equipment, you will come across an overwhelming number of AeroPress brewing techniques, so Bean Bros is here to help you with the best AeroPress brewing method, that is both easy and precise.
For your AeroPress brew station, you'll need AeroPress coffee maker, 350 paper microfilters, which usually come with your AeroPress, coffee stirrer and coffee scoop that comes as part of Bean Bros AeroPress package, and Bean Bros's the best Fellow Kettle!
And last but not least, your favourite coffee. Given that you are hesitant on what coffee is the best or you simply want to try something new, subscribe with Bean Bros for our monthly Specialty Coffee Subscription, and let us deliver you the best of worldwide coffee roasts.
Follow our AeroPress brewing instructions on how to make a good coffee with AeroPress!


AeroPress Brew Guide: How to make coffee with AeroPress.
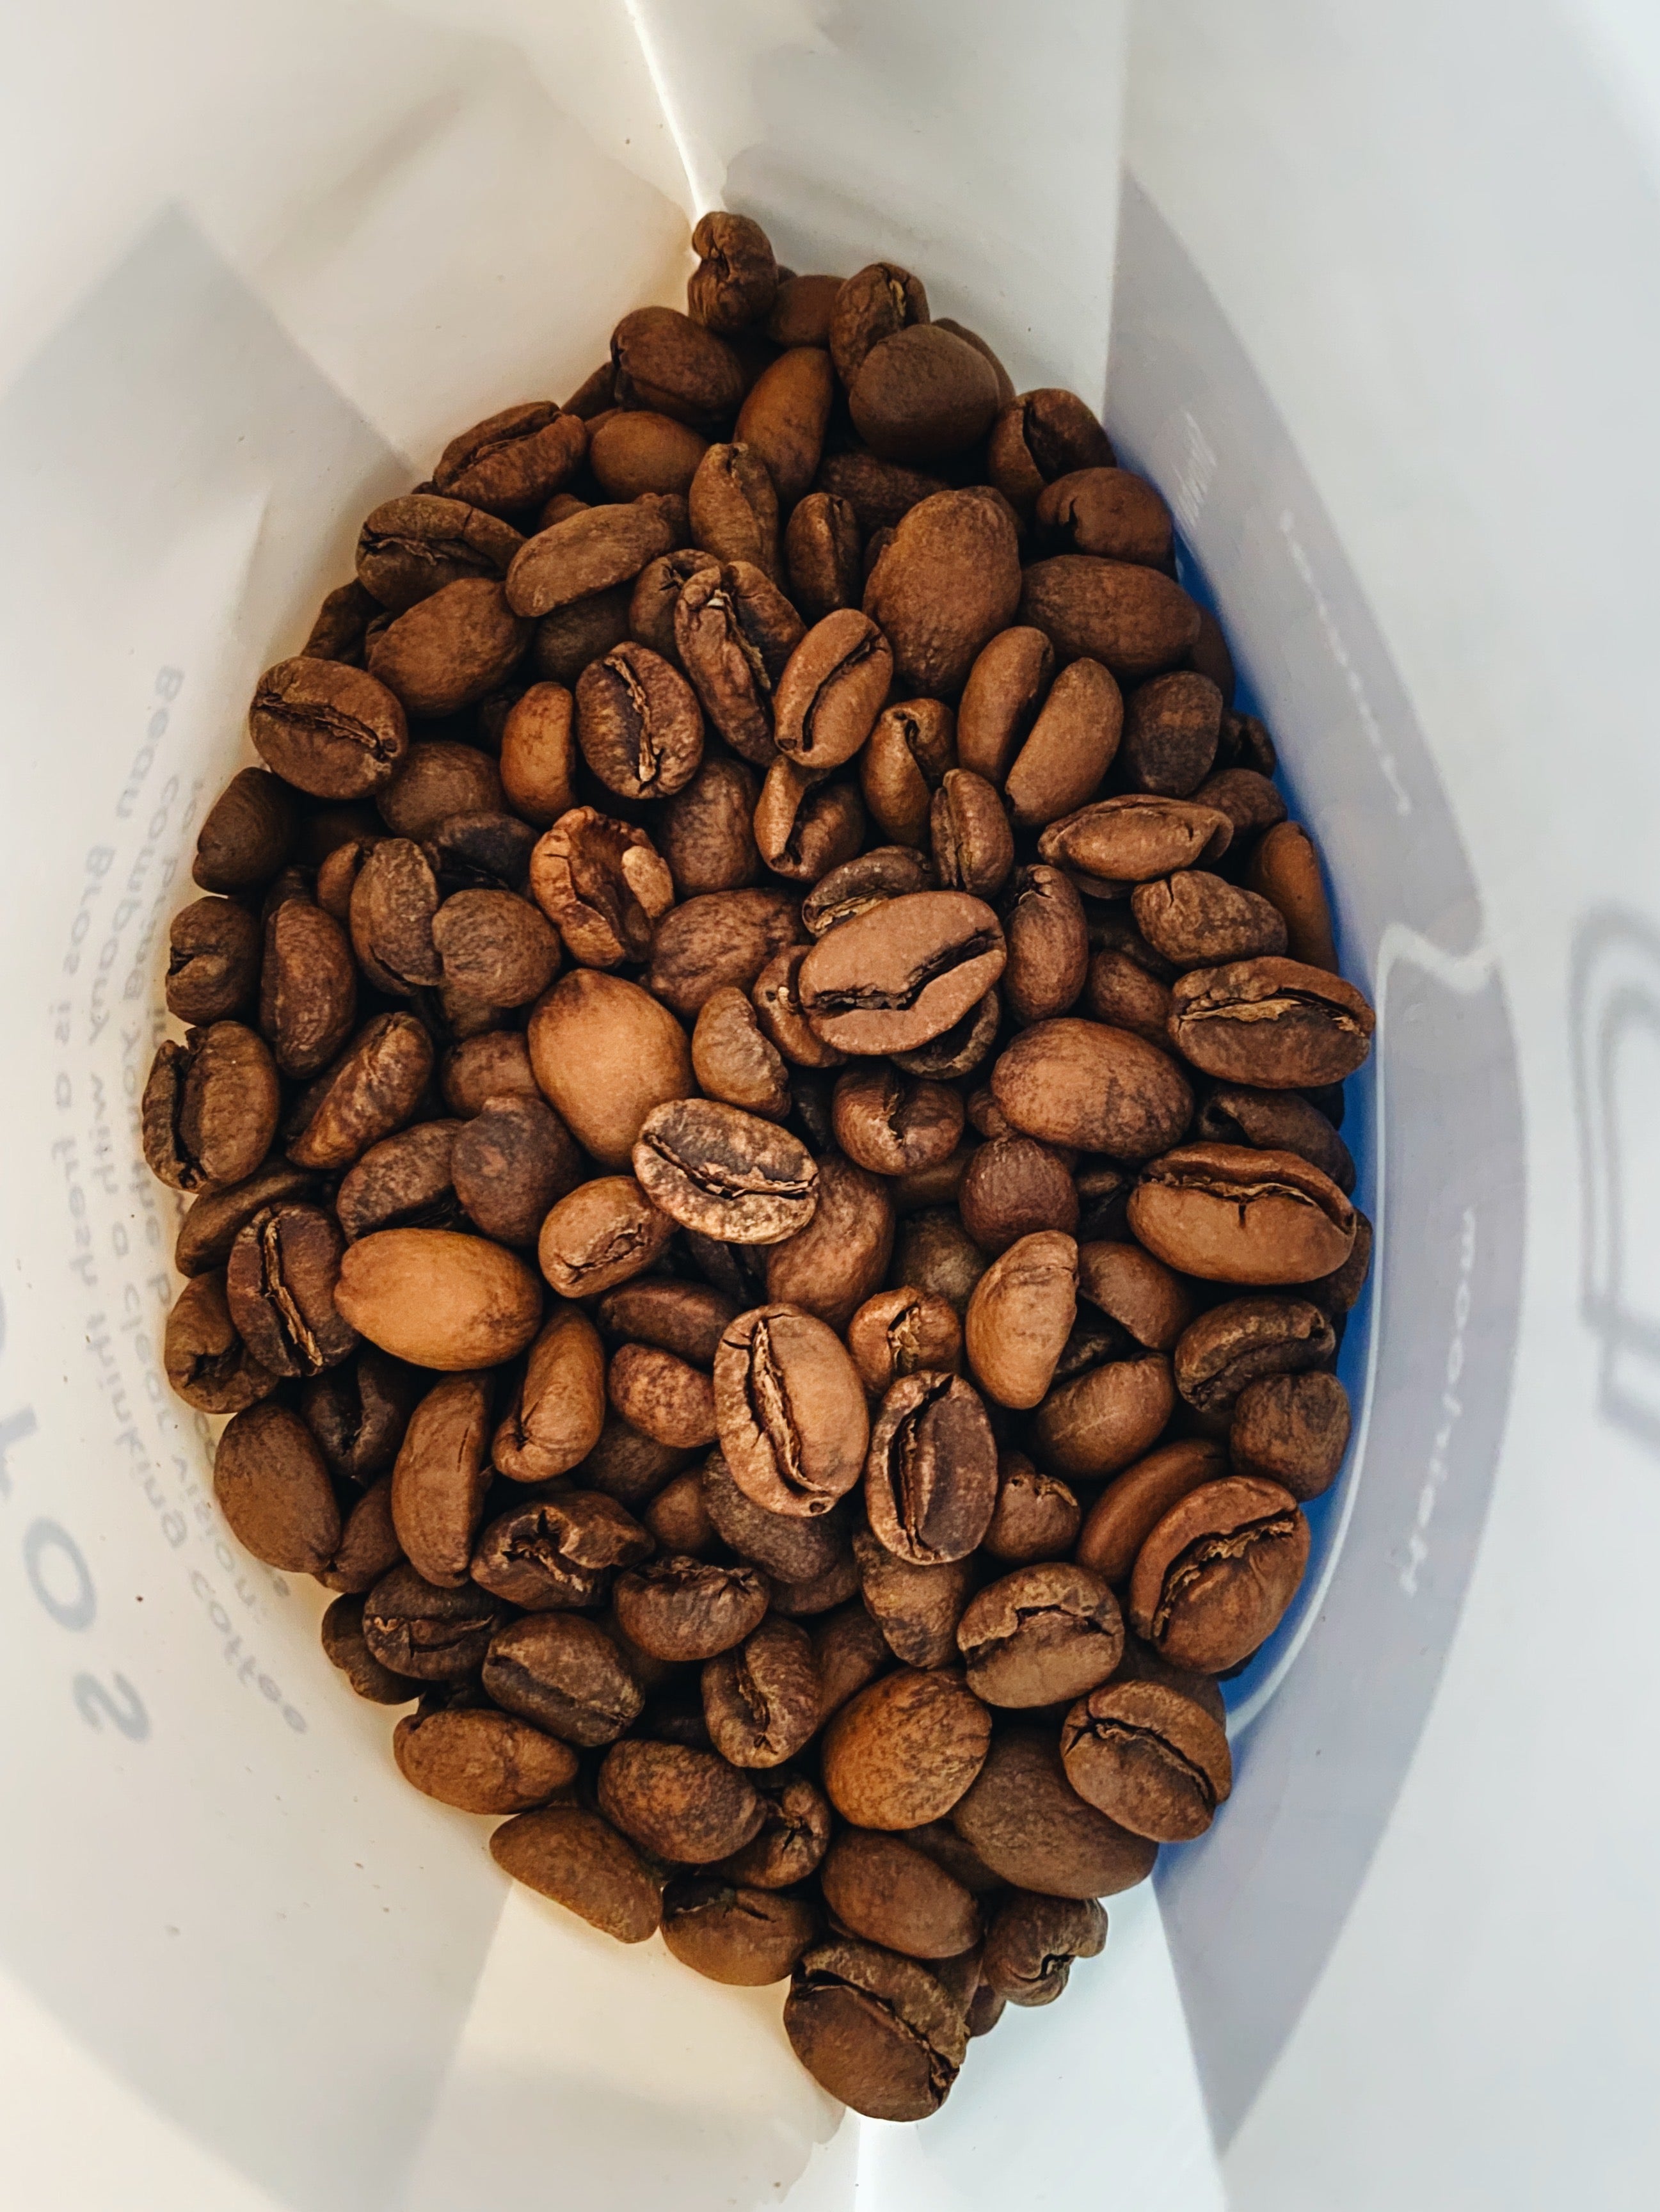
1: Grind your coffee beans
The easy part about preparing your coffee beans for AeroPress is that you don't really need a scale. You may need a coffee grinder, just like Wilfa Grinder, to freshly grind your coffee beans before brewing. You want to grind the beans medium to fine ground. And remember that fresher the grind, better the taste!
The AeroPress ratio of coffee to water is 1:15, and AeroPress capacity is 250 ml, but you'll be using 240 ml of hot water to brew your AeroPress coffee. Which means you need about 16 grams of freshly ground coffee, which is exactly one AeroPress scoop size.
2: Set up the equipment
Once you have your coffee beans ready, it's time to prepare the equipment. Place the microfilter inside the filter cap and rinse it with hot water to get rid of the papery taste.
The filter is ready and you can turn it upside down and place the piston inside the upper part.


3: Start pouring to bloom the coffee
The water has to be boil and then left to cool down for about 30 seconds to about 94 degrees before you start pouring.
After your water has reached the desired 92-94 degrees, you can start pouring over the coffee grounds. The important part of brewing coffee using any method is blooming. So, before you fill-up the whole AeroPress, you want to start with pouring just above number 1 and letting the coffee bloom for 30 seconds.This is about 32 gr of water - double the amount of coffee
During the blooming, the coffee grounds get saturated and that allows your coffee to get a more balanced yet intense taste and aroma notes.
4: Pour the rest of the water and stir
Throughout this simple method, you want to follow the AeroPress numbers on the chamber, so make sure they are clearly visible for you.
After 30 seconds, you can pour the rest of the water to fill up until you reach 240gr. Place the filter on top and leave the coffee to brew until you reach 1:20 seconds.


5: Press
Turn it upside down into a server or a cup and start pressing it down towards your cup. There will be small resistance, so you need to create enough pressure for the coffee to pass through the filter. But don't worry, it's nothing you wouldn't manage.
6: Your AeroPress coffee is ready!
When you hear the sound of air exiting the chamber, all of the water has got through the coffee ground and your coffee is ready!
Following the AeroPress brew ratio will ensure that you get well balanced and smooth coffee, but in case you want to get stronger coffee or make AeroPress espresso, feel free to adjust those numbers and experiment.
When you hear the sound of air exiting the chamber, all of the water has got through the coffee ground and your coffee is ready! Following the AeroPress brew ratio will ensure that you get well balanced and smooth coffee, but in case you want to get stronger coffee or make AeroPress espresso, feel free to adjust those numbers and experiment.
Little AeroPress brewing tip at the end. There's a method of brewing AeroPress inverted. This simply means you can first insert the plunger on the top of the chamber, but without pressing. Then you add coffee grounds and start brewing as usual.

Frequently asked questions about brewing with AeroPress
How to make cold brew coffee with AeroPress?
Making a cold brew concentrate with AeroPress is fairly easy and will produce coffee that is smooth and less bitter and acidic. The only difference compared to the classic AeroPress hot coffee is that it's going to take much more time.
Also, you want to use the AeroPress inverted method, because your cold brew has to stand for quite some time.
Start with brewing ratio 1:4, so taking about 37-40 grams of coffee beans, middle to fine grind, to about 150 ml of room temperature water. Put coffee grounds into the chamber, pour over water, stir, place the cap with the filter on top and let this steep in room temperature for 12 to 24 hours, depending on how strong you want your coffee to be.
After 24 hours, flip the AeroPress and start pressing, making an amazing cold brew concentrate.

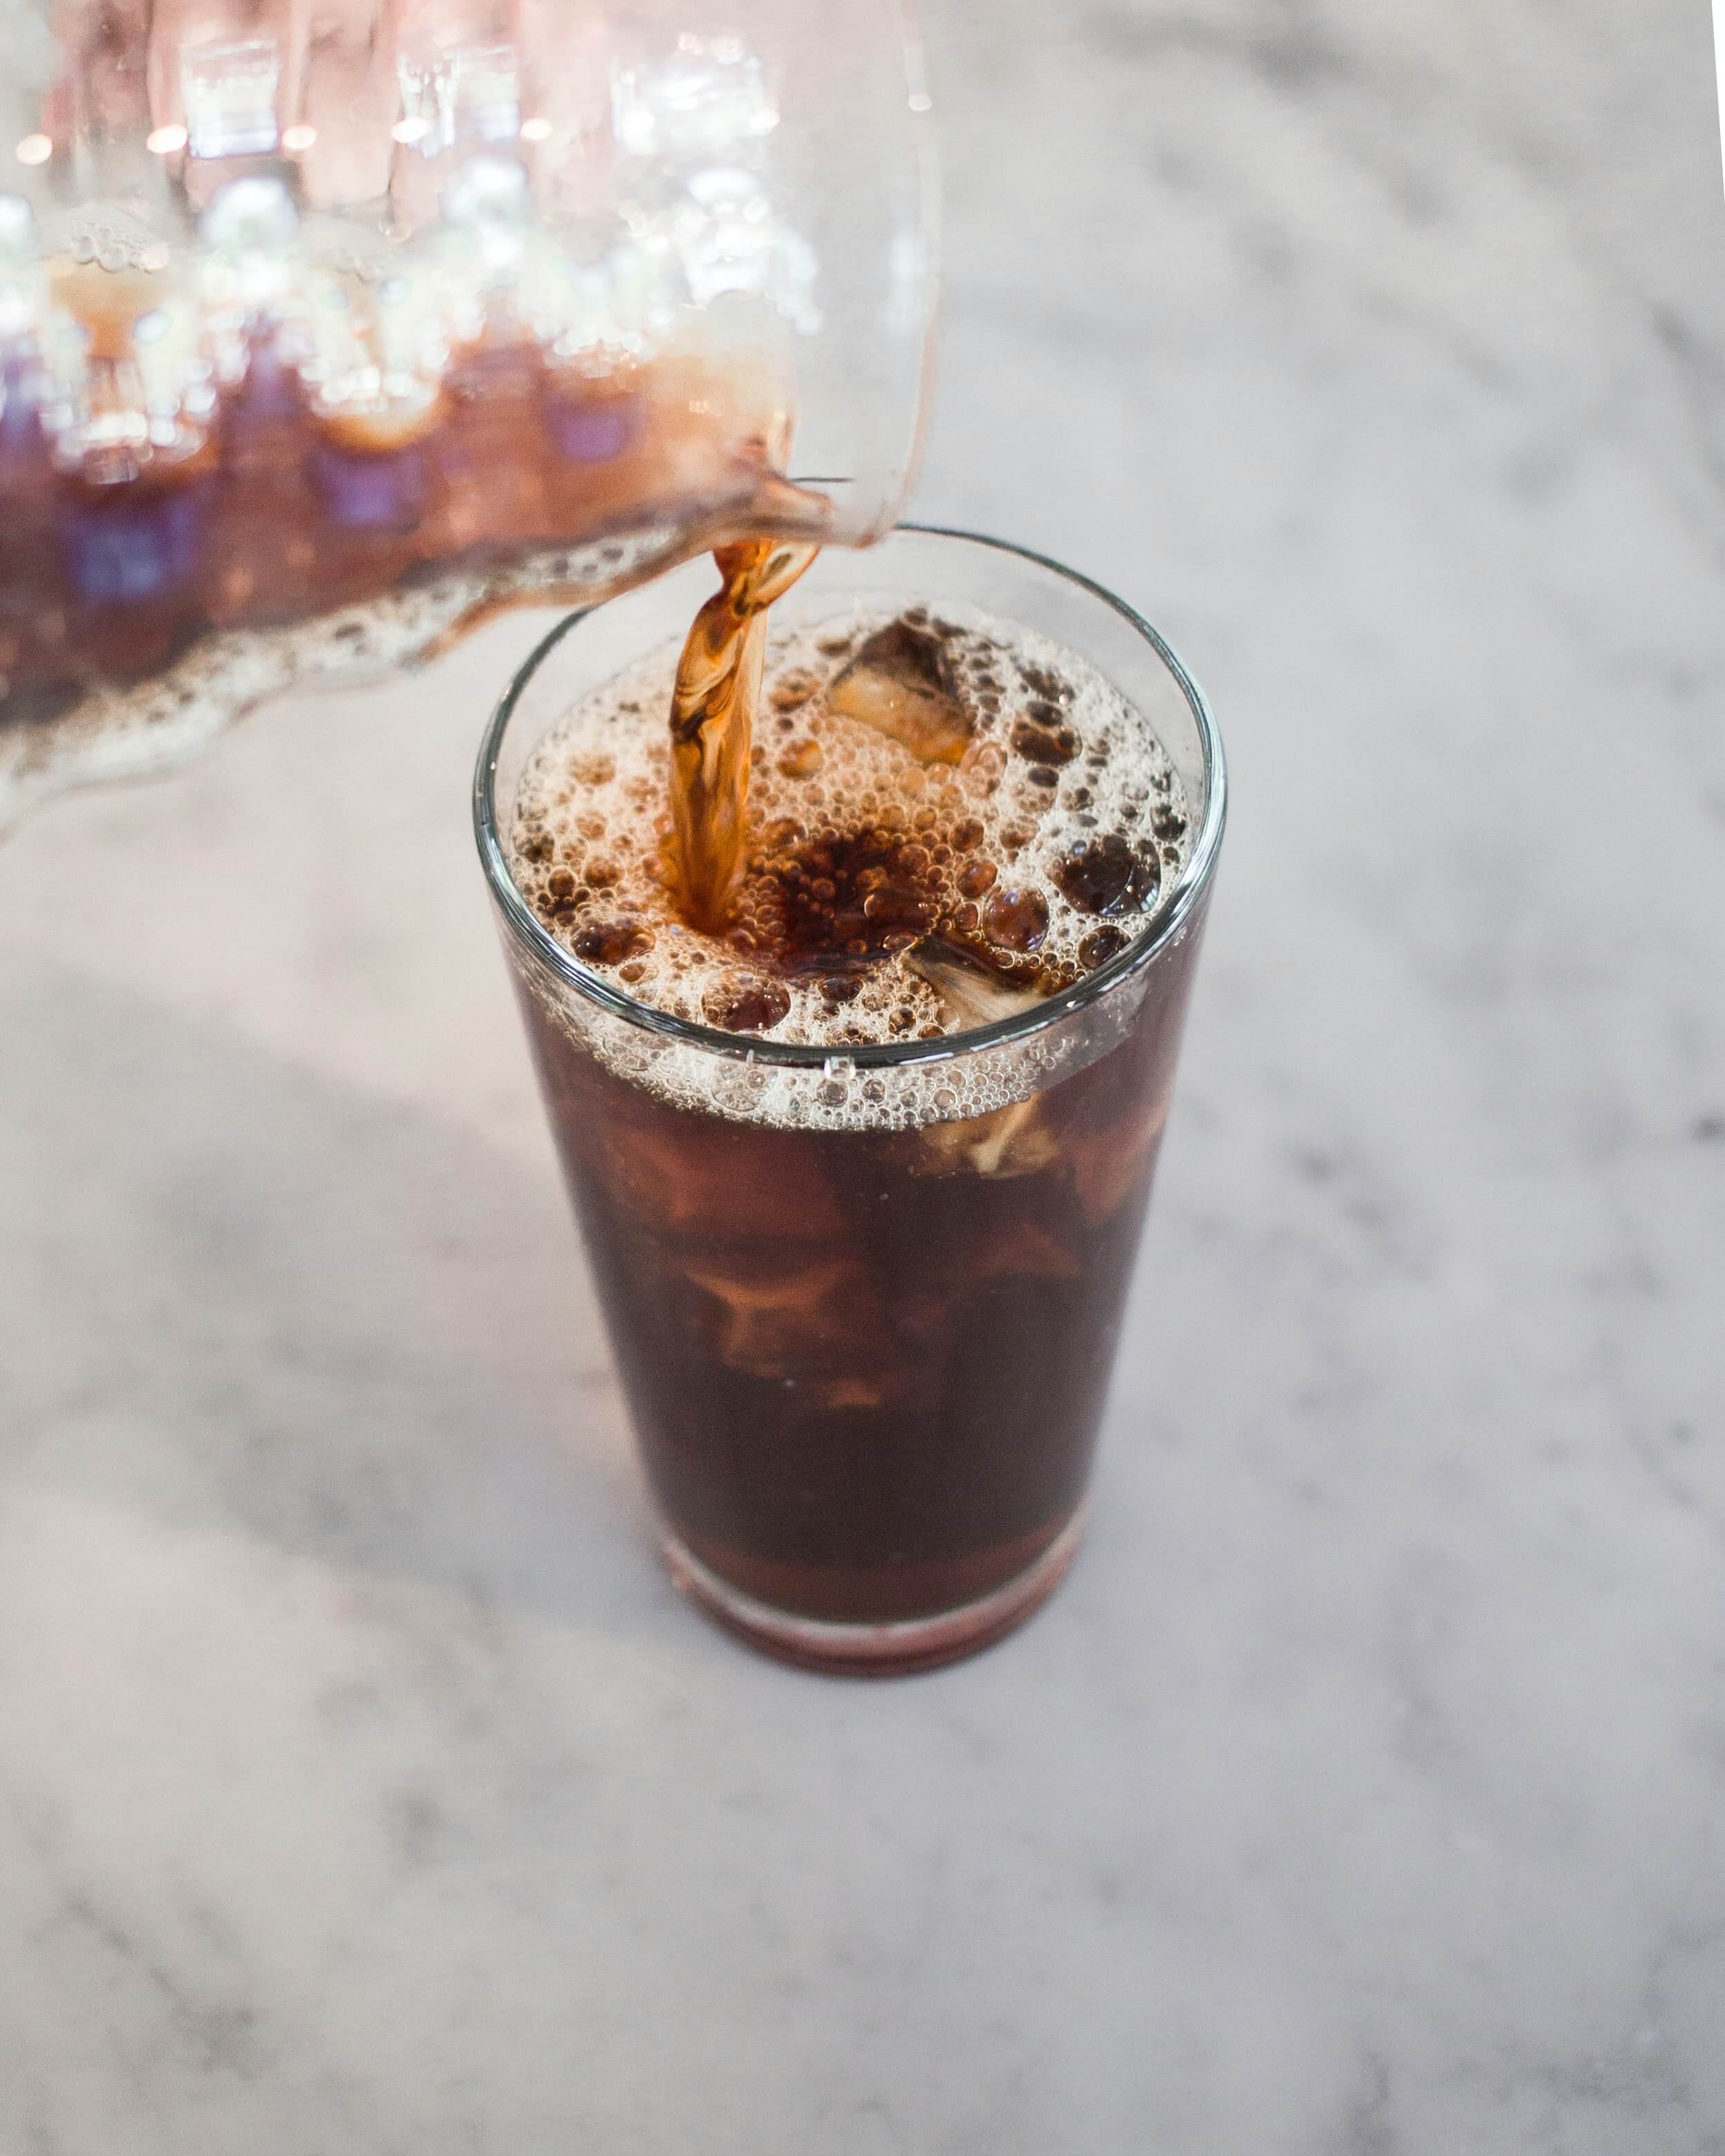
How to make iced coffee with AeroPress?
Making an iced coffee with AeroPress is even easier. You can use your cold brew concentrate, just pouring over ice and mixing half-and-half with either milk or water. The cold brew concentrate gives you about 100 ml of coffee, so add as much ice and milk to that mixture, as you like.
You can also make iced coffee with AeroPress by simply adding ice into your normally brewed AeroPress coffee. Just make sure to cool that down beforehand.
What coffee do you use in an AeroPress?
The best solution is always asking your barista about which coffee beans are the best for brewing with an AeroPress. But when you're ordering online, the best way to find coffee beans for AeroPress is to tailor down what kind of coffee do you prefer.
Do like bold strong tastes of dark roasted coffee or more floral notes? In general, you can't go wrong with light roasted coffee or coffee beans from countries like Ethiopia or Columbia. But it's hard to say one brand or one roast as a general rule since everyone's preference is different.
The best advice? Experiment! If you don't have one specific roast you love, that you're open to possibilities of finding that roast. Or ask any of your coffee enthusiastic friends. They tried AeroPress for sure and will be more than willing to talk about it.
When it comes to whether you can use pre-ground coffee for in AeroPress? Sure you can, but it won't taste the same as freshly ground coffee beans. The fresher the roast and grind of the beans, the better they taste!

How much coffee can you make with an AeroPress?
Let's start with a question of how much coffee do you put in an AeroPress? As we mentioned before, the AeroPress ratio is 1:15 with a capacity of 250 ml, but you don't fill the full chamber. So with this brewing ratio, you will be using about 16 grams of coffee.
In general, 240 ml is about one bigger cup of coffee. With AeroPress, you are brewing coffee that can be compared either to a filter coffee or an americano. In case you're wondering whether you can make espresso in an Aeropress, it is possible when you change the brewing ratio and use less water in general. But the intensity and taste won't be the same as with espresso maker.
Same goes for how to make stronger coffee with AeroPress. You want to change the ratio, but this time, you don't have to change the amount of water you are using. Just add more beans, for example instead of using 16 grams per 240 ml or less, use about 18 grams. Or just try different roast with higher intensity.
How to make more coffee with AeroPress?
Now the obvious thing is that you cannot overfill your AeroPress. So don't try to make more coffee adding more water. So to get AeroPress 16 oz coffee, which is about 500 ml, you will have to use your AeroPress again.
One of the best thing about brewing coffee with an AeroPress is that the overall process takes just a couple of minutes and the same goes for cleaning the equipment. Once you're done using your AeroPress, just press the excess out of the chamber, throw out the filter and rinse with warm water.
To clean your AeroPress, you don't need to use any special equipment or chemicals, simply warm water is enough, you may use dish soap if you prefer. But this makes it easy to reuse within a couple of minutes to make more coffee with your AeroPress.

Subscribe for our newsletter
Stay up to date on the latest releases and promotions from Bean Bros